I photographed this crisp extension in the autumn of 2016 for the architects Thomas & Spiers. I just stumbled back across the photographs and really quite like them.
Photography
Space Baby /
So, last week I finally finished my series of images Space Baby, and they are now selling through Getty Images. I've been chipping away at them between commissions and they've been great fun to create, so I thought you might enjoy a little break down of what went into making them.
Each shot was sketched out before hand. Sometimes this was a quick pencil sketch and sometimes a very dodgy bit of photoshop, as below. As these were never intended for public consumption I didn't worry about spending too much time on them, they were really just for blocking out the principals of the shot - the camera angle, lighting etc.
We did all of the photography work at the brilliant Cloud & Horse studios in north London, and with a rough idea of the shot that we were after we could set up the studio to give us the right lighting conditions. However, unlike when I was shooting Jennifer for the Tokyo penthouse we couldn't be that precise - a toddler just doesn't stand still that long. We had to be far more fluid and adaptable.
Back at the computer I was able to make my selects from the shoot and begin the hard work.
The first step was to place the photograph of Jack behind the model in 3DS Max. I could then move the virtual camera into the right position so that model and photo would align. With the camera setup and locked in position I could then work on the 3D model, adding detail where it would be seen without wasting time on stuff that would be out of shot.
With all the shot modelled up I then went back to Photoshop to mask out the background in the photograph of Jack. In the instance of this photo I had to use 2 or 3 photographs and composite them together to remove any trace of gravity and me holding Jack.
There was then a little back and forth to double check the camera angle and lighting in the model before rendering out the final image of the spaceship. This was then taken into Photoshop where it could be combined with the photograph of Jack.
I render out my computer images as 32-bit images in multiple passes so that I can adjust each element (reflections, refractions, lighting, etc.) in Photoshop. This is particularly important on images like this to bed Jack into the image and adjust the little details that make him look like he's actually there rather than just pasted on top.
Every detail was carefully embellished to give the series a comfortable real world feel. For instance the magnetic letters were modelled from scratch and then textured with a Vray SSS2 material. This material allowed me to give the plastic that slightly translucent feel that you get on some children's toys, which then glows a little when it's back lit.
Jack's spacesuit brought some unique challenges, particularly for someone who specialises in architectural imagery (which is normally hard and rectilinear). In the end I took a model of a small boy and tweaked it to give him the proportions of a toddler. I then rigged the model with a skeleton in 3DS Max and exported that to Marvellous Designer. In Marvellous Designer I could then use the toddler model like a mannequin and slowly craft the spacesuit over him. With the fabric parts of the spacesuit finished in Marvellous Designer I then animated the mannequin back in 3DS Max to move from standing to the pose for each shot. I then took that animated mannequin back to Marvellous Designer and animated it while it wore the spacesuit. The spacesuit was then finally taken back to 3DS Max for texturing, to add the hard elements, and then finally adding it to the rest of the scene.
If you have any questions feel free to ask them below and I'll do my best to answer them for you.
Jack the Astronaut /
For a while now I've had this daft idea of sending Jack into space. I thought it would be fun to imagine what life is like for a toddler travelling through the cosmos, maybe on route to populate Mars? And Jack would look pretty dinky as an astronaut. So a couple of weeks ago we spent a day in a studio with Jack, executing a carefully planned shoot. The CGI component of the images is nearly finished now and ahead of the final images being released I thought you might enjoy this behind the scenes shot.
North London Residence /
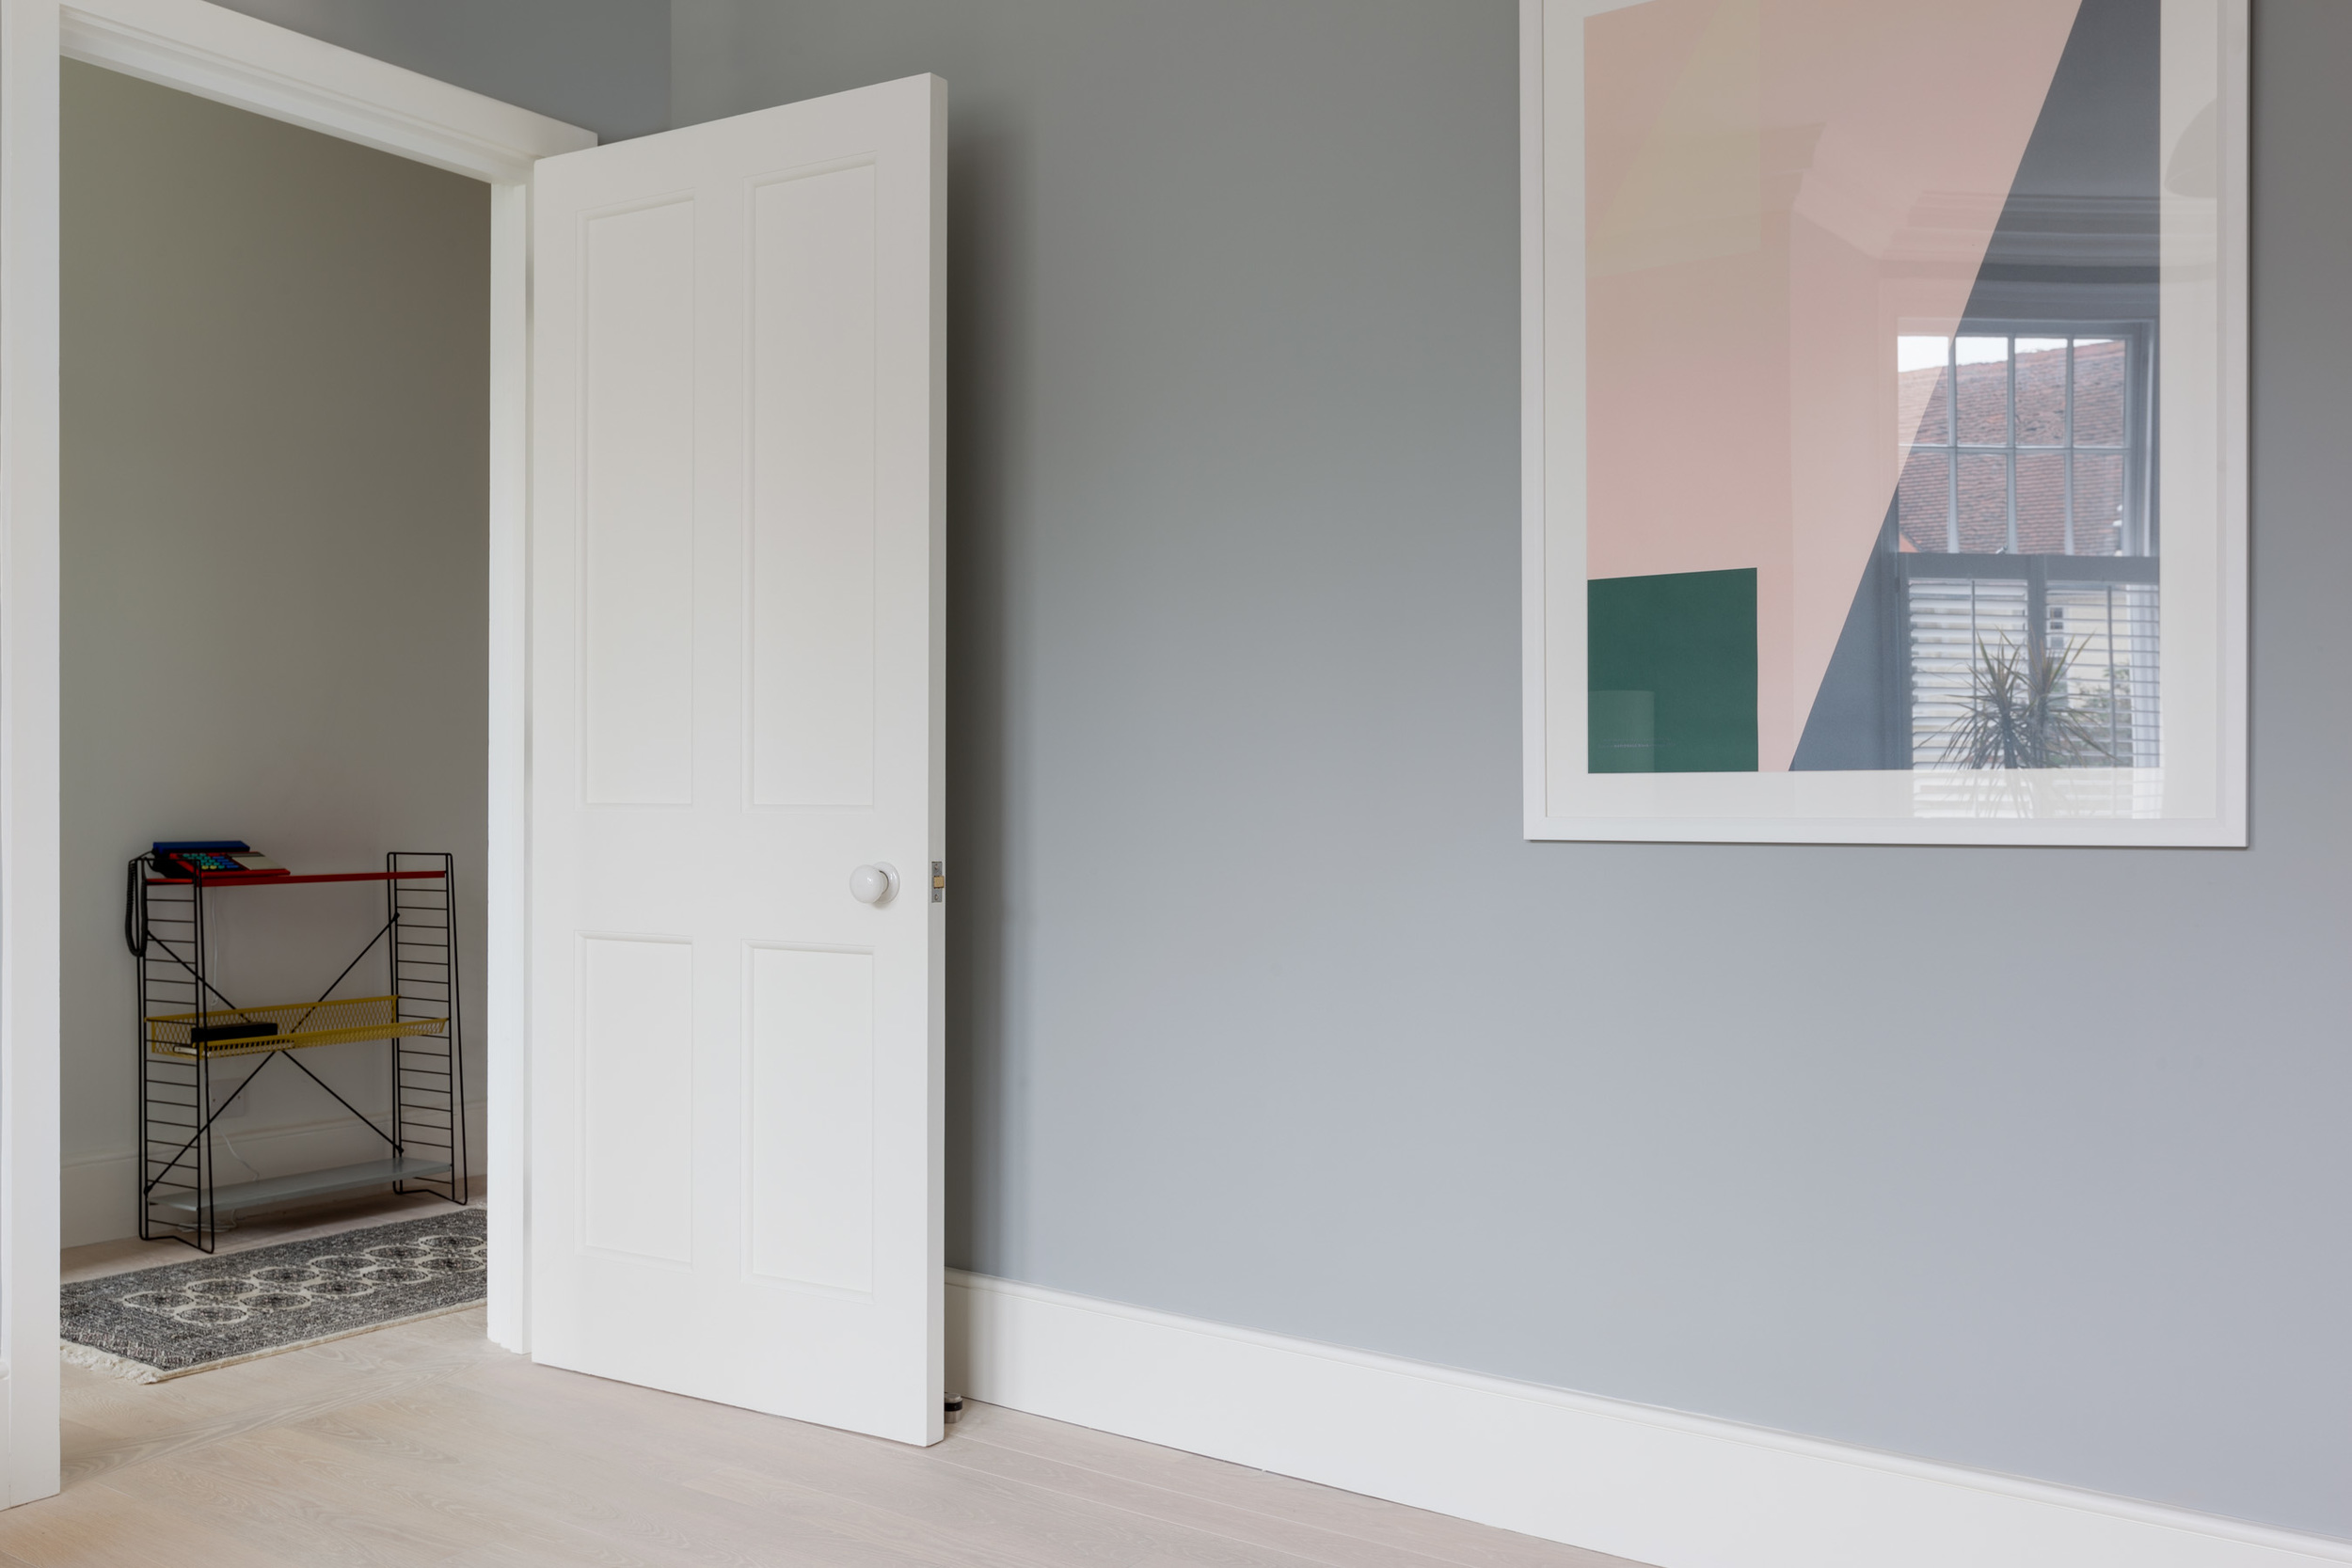

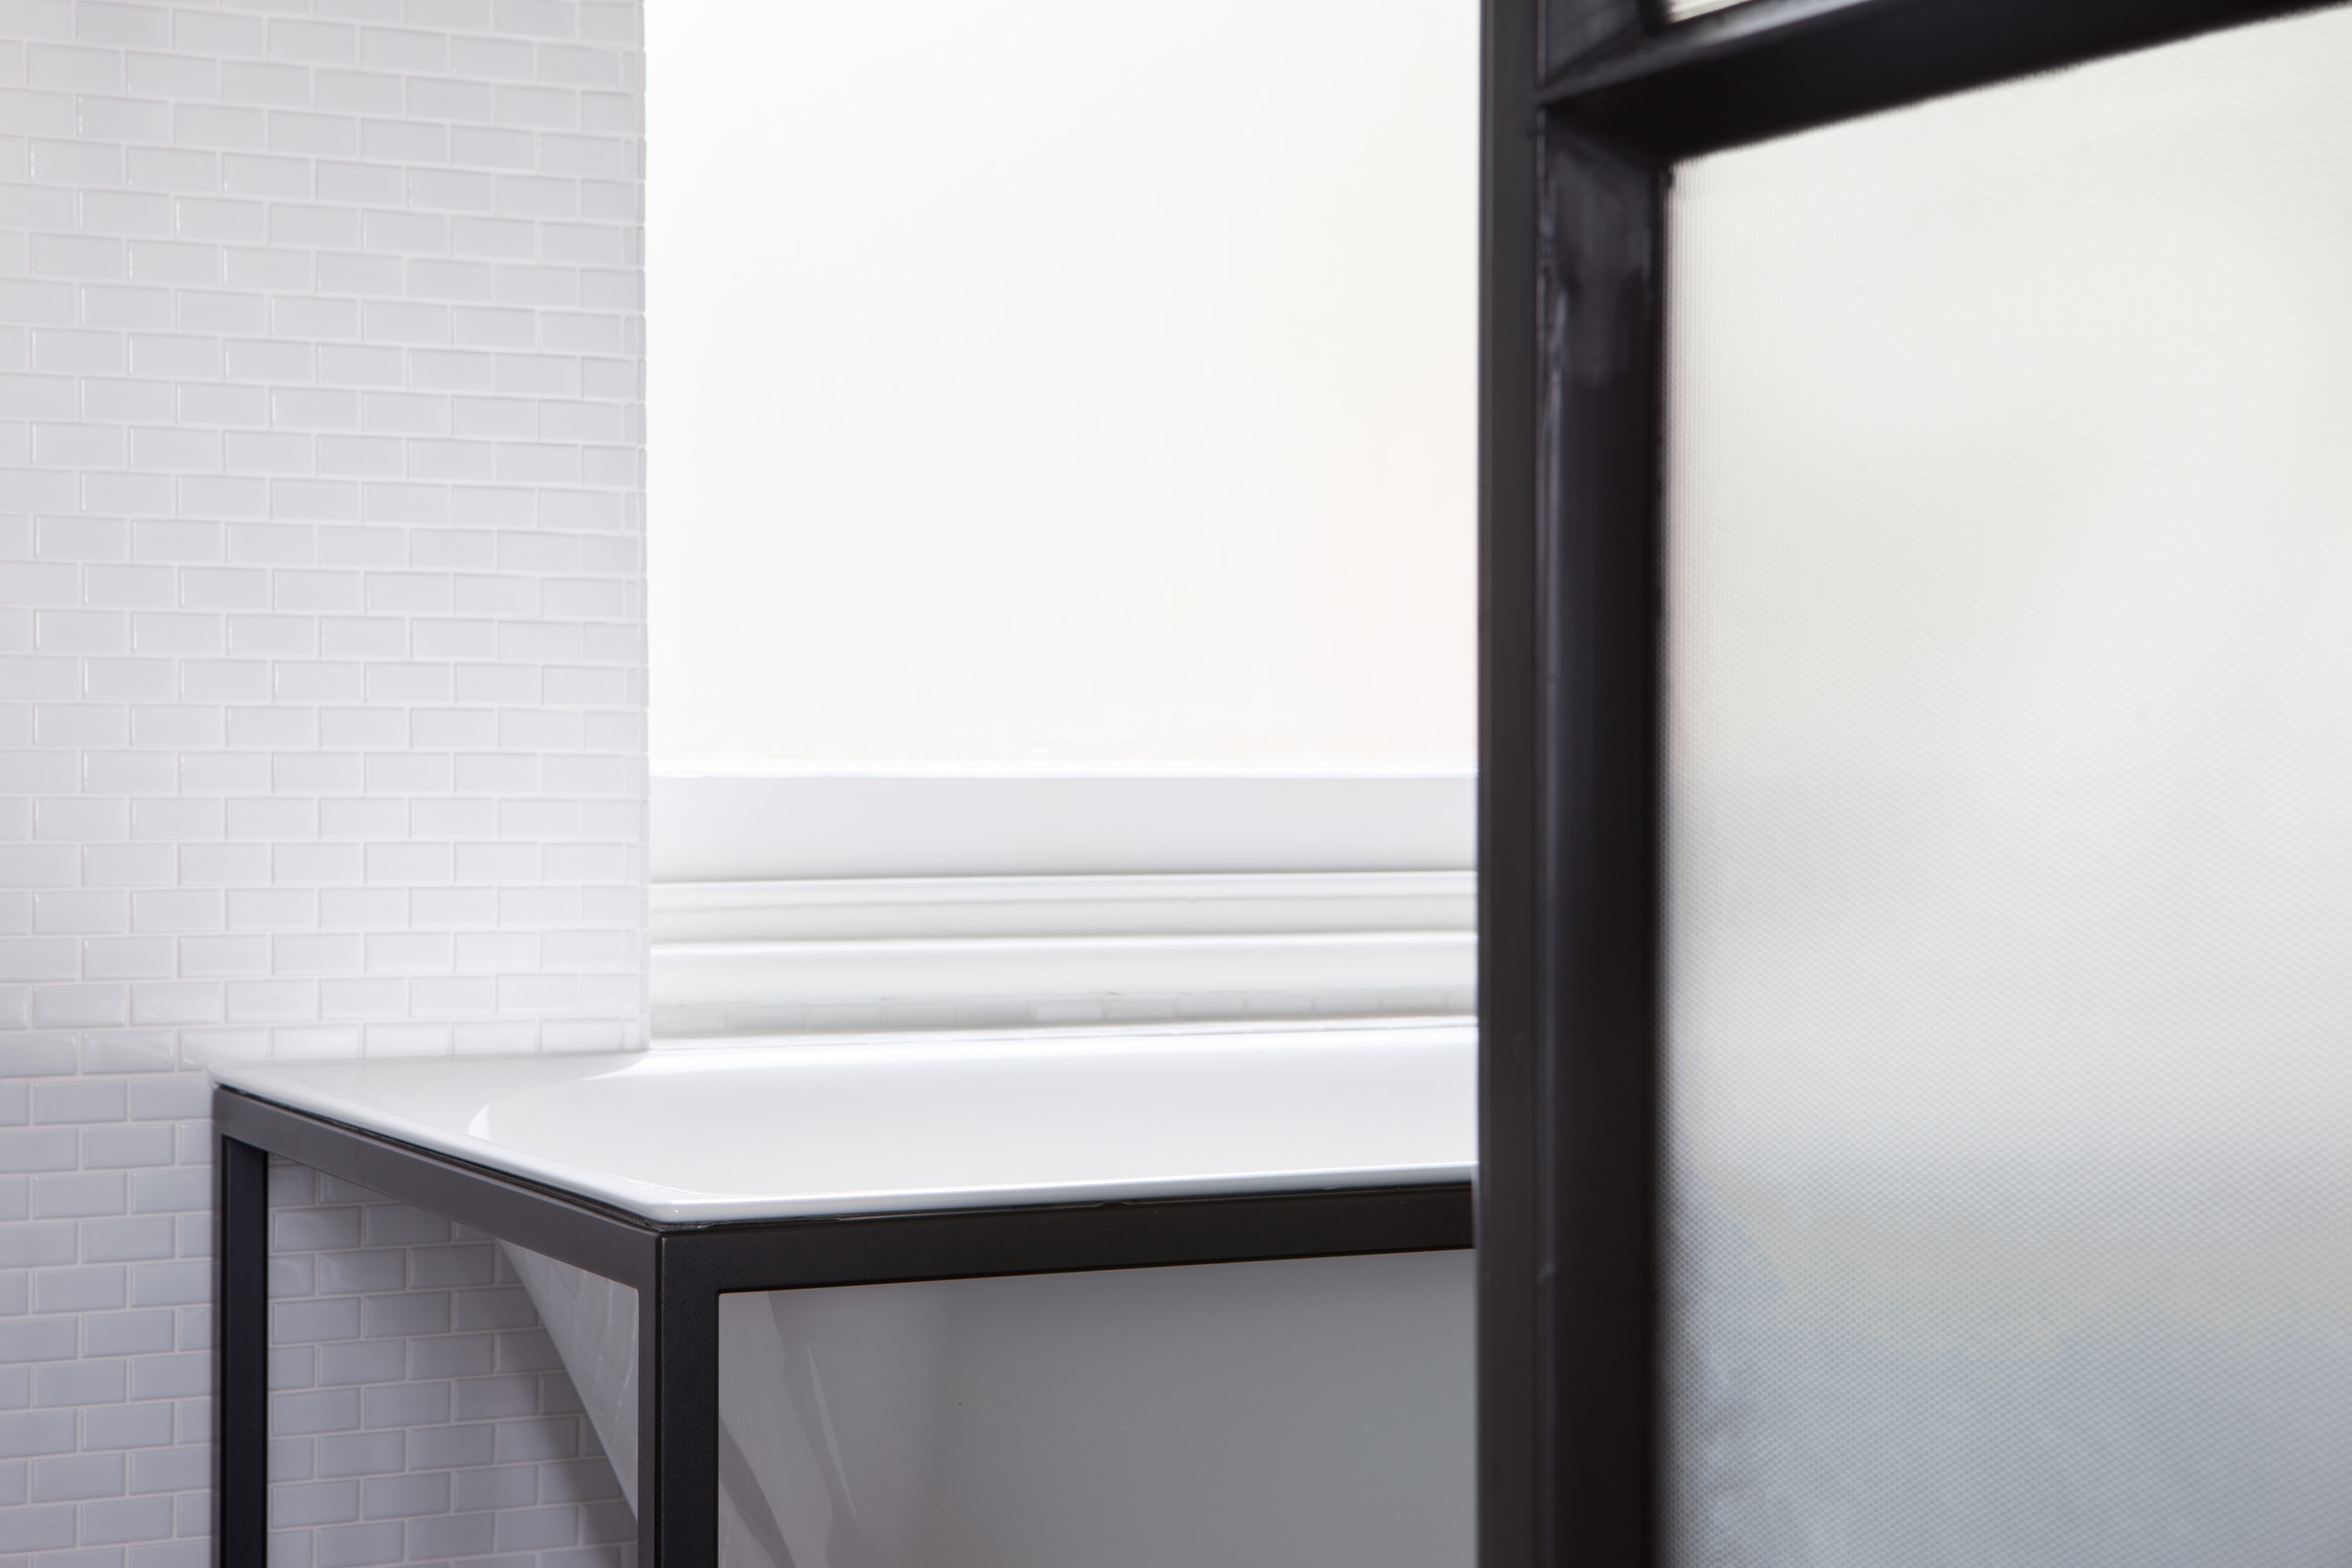
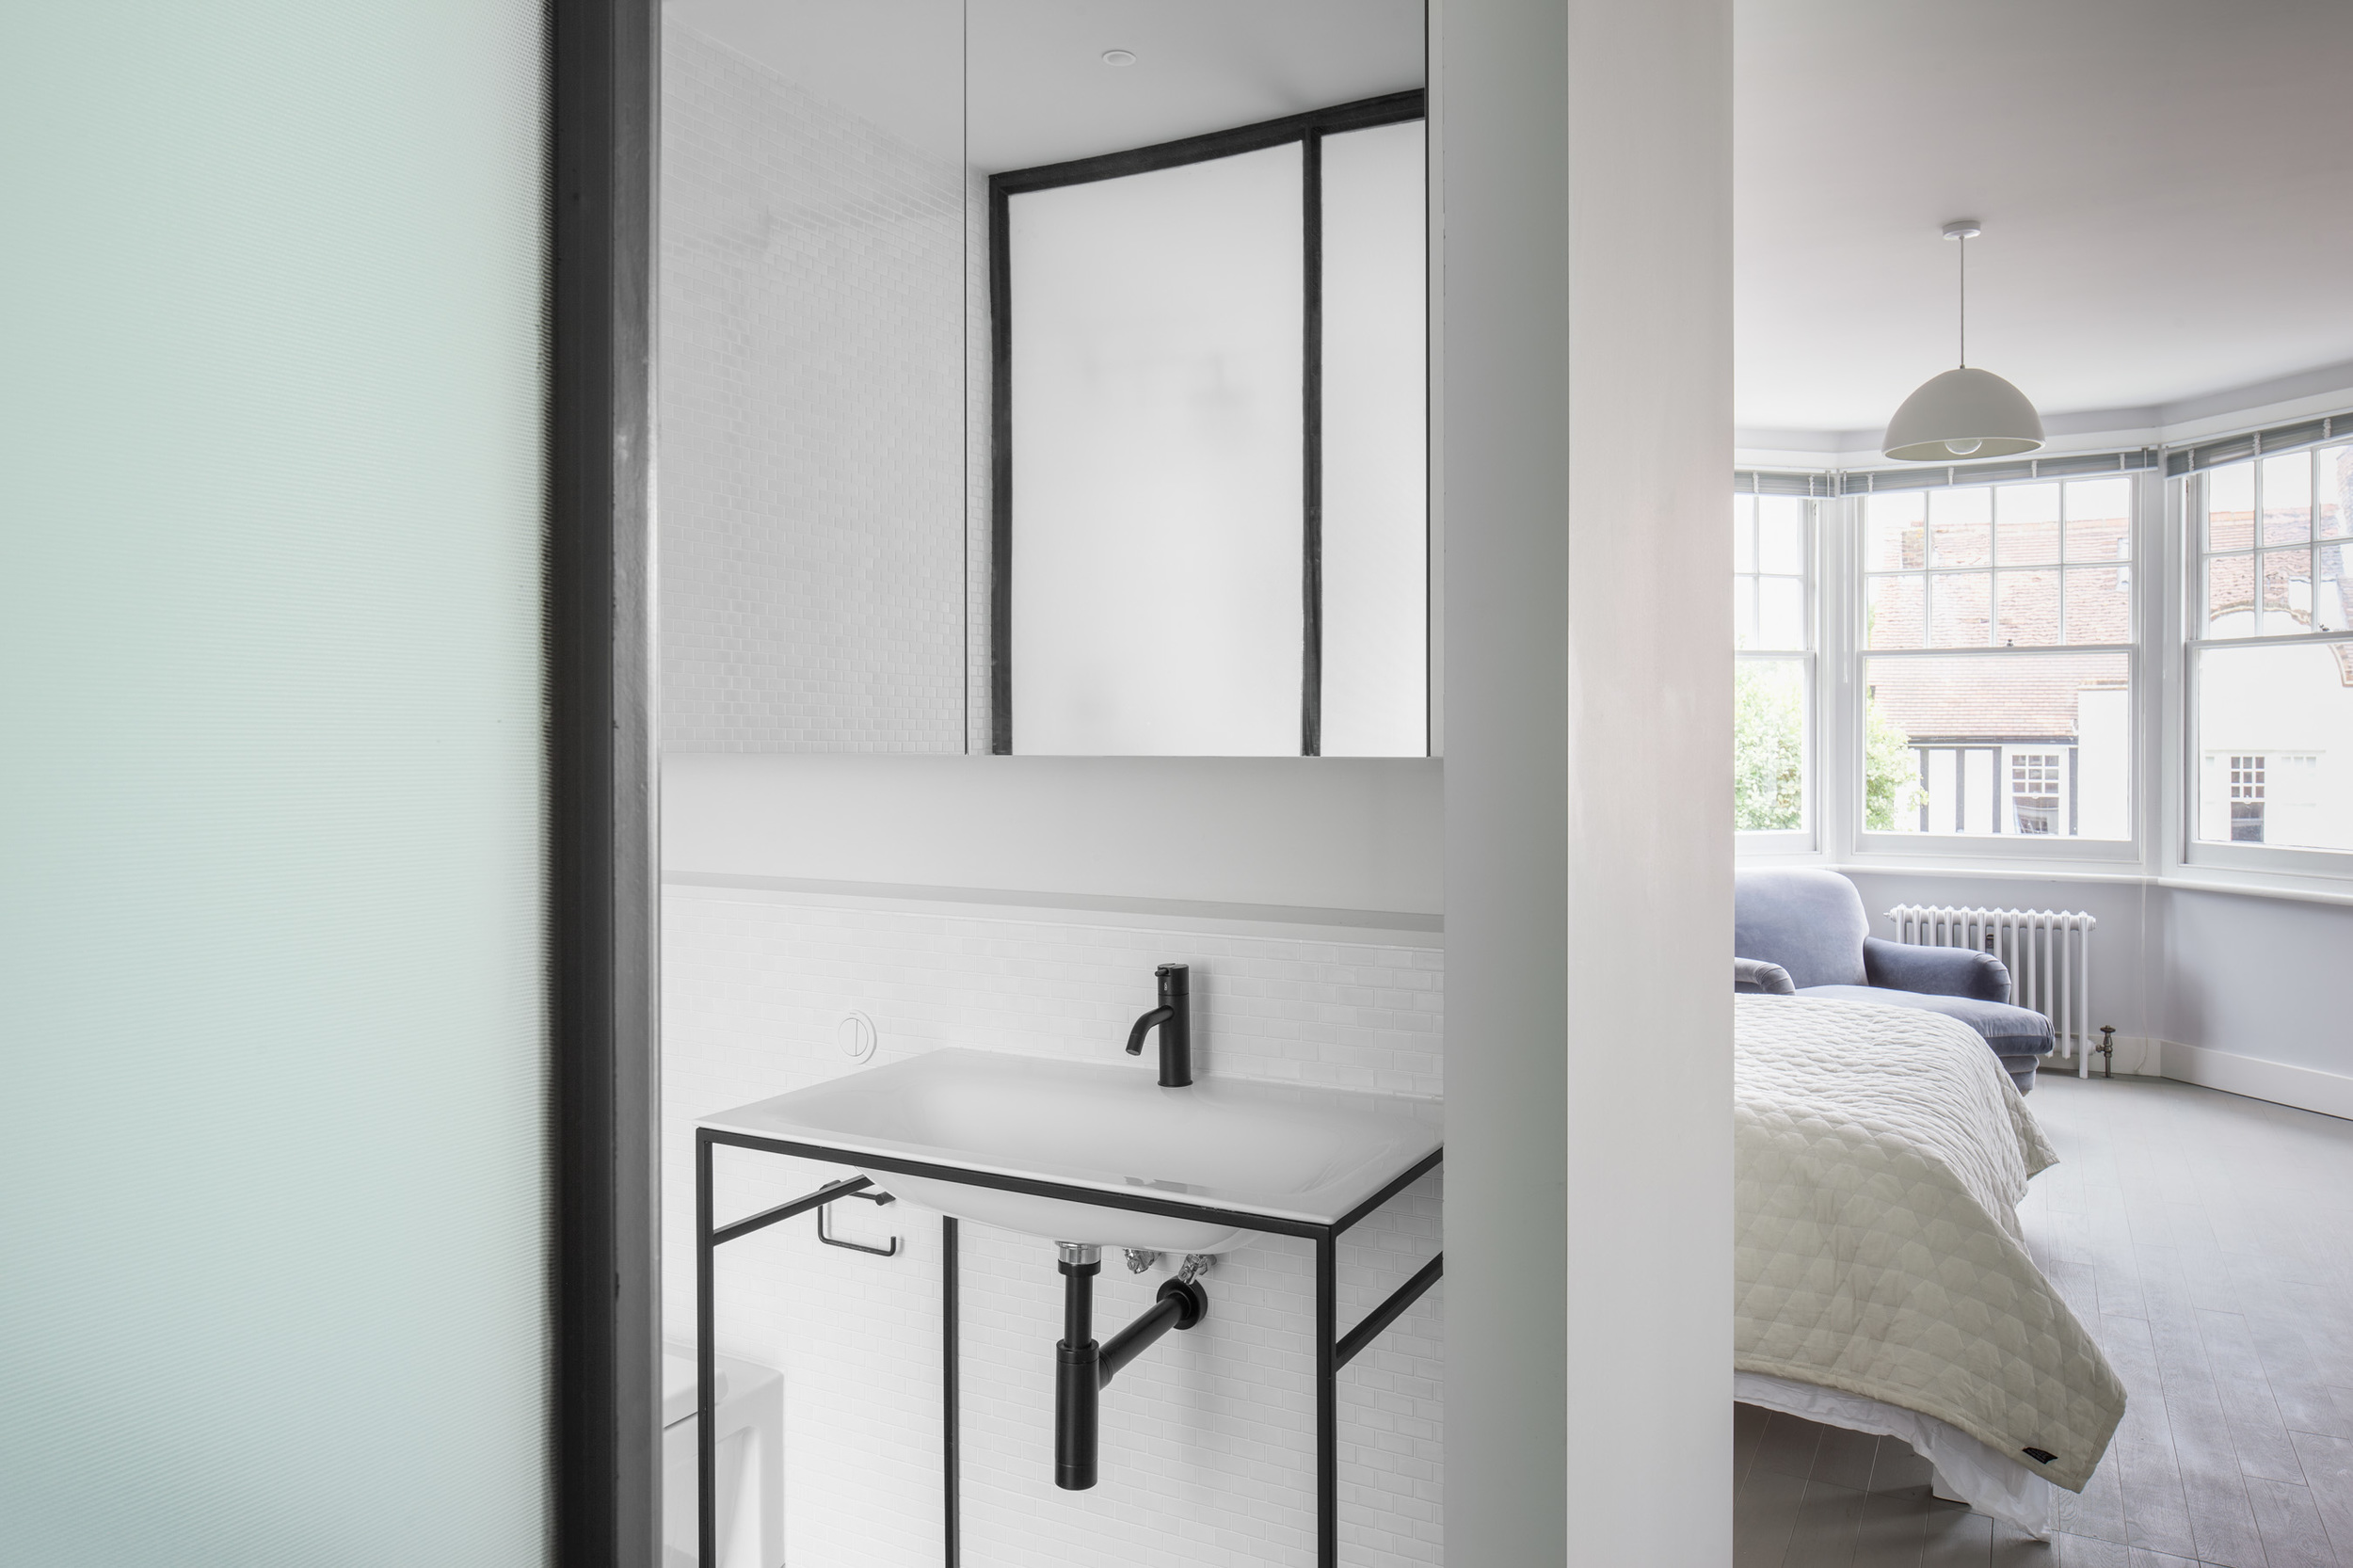
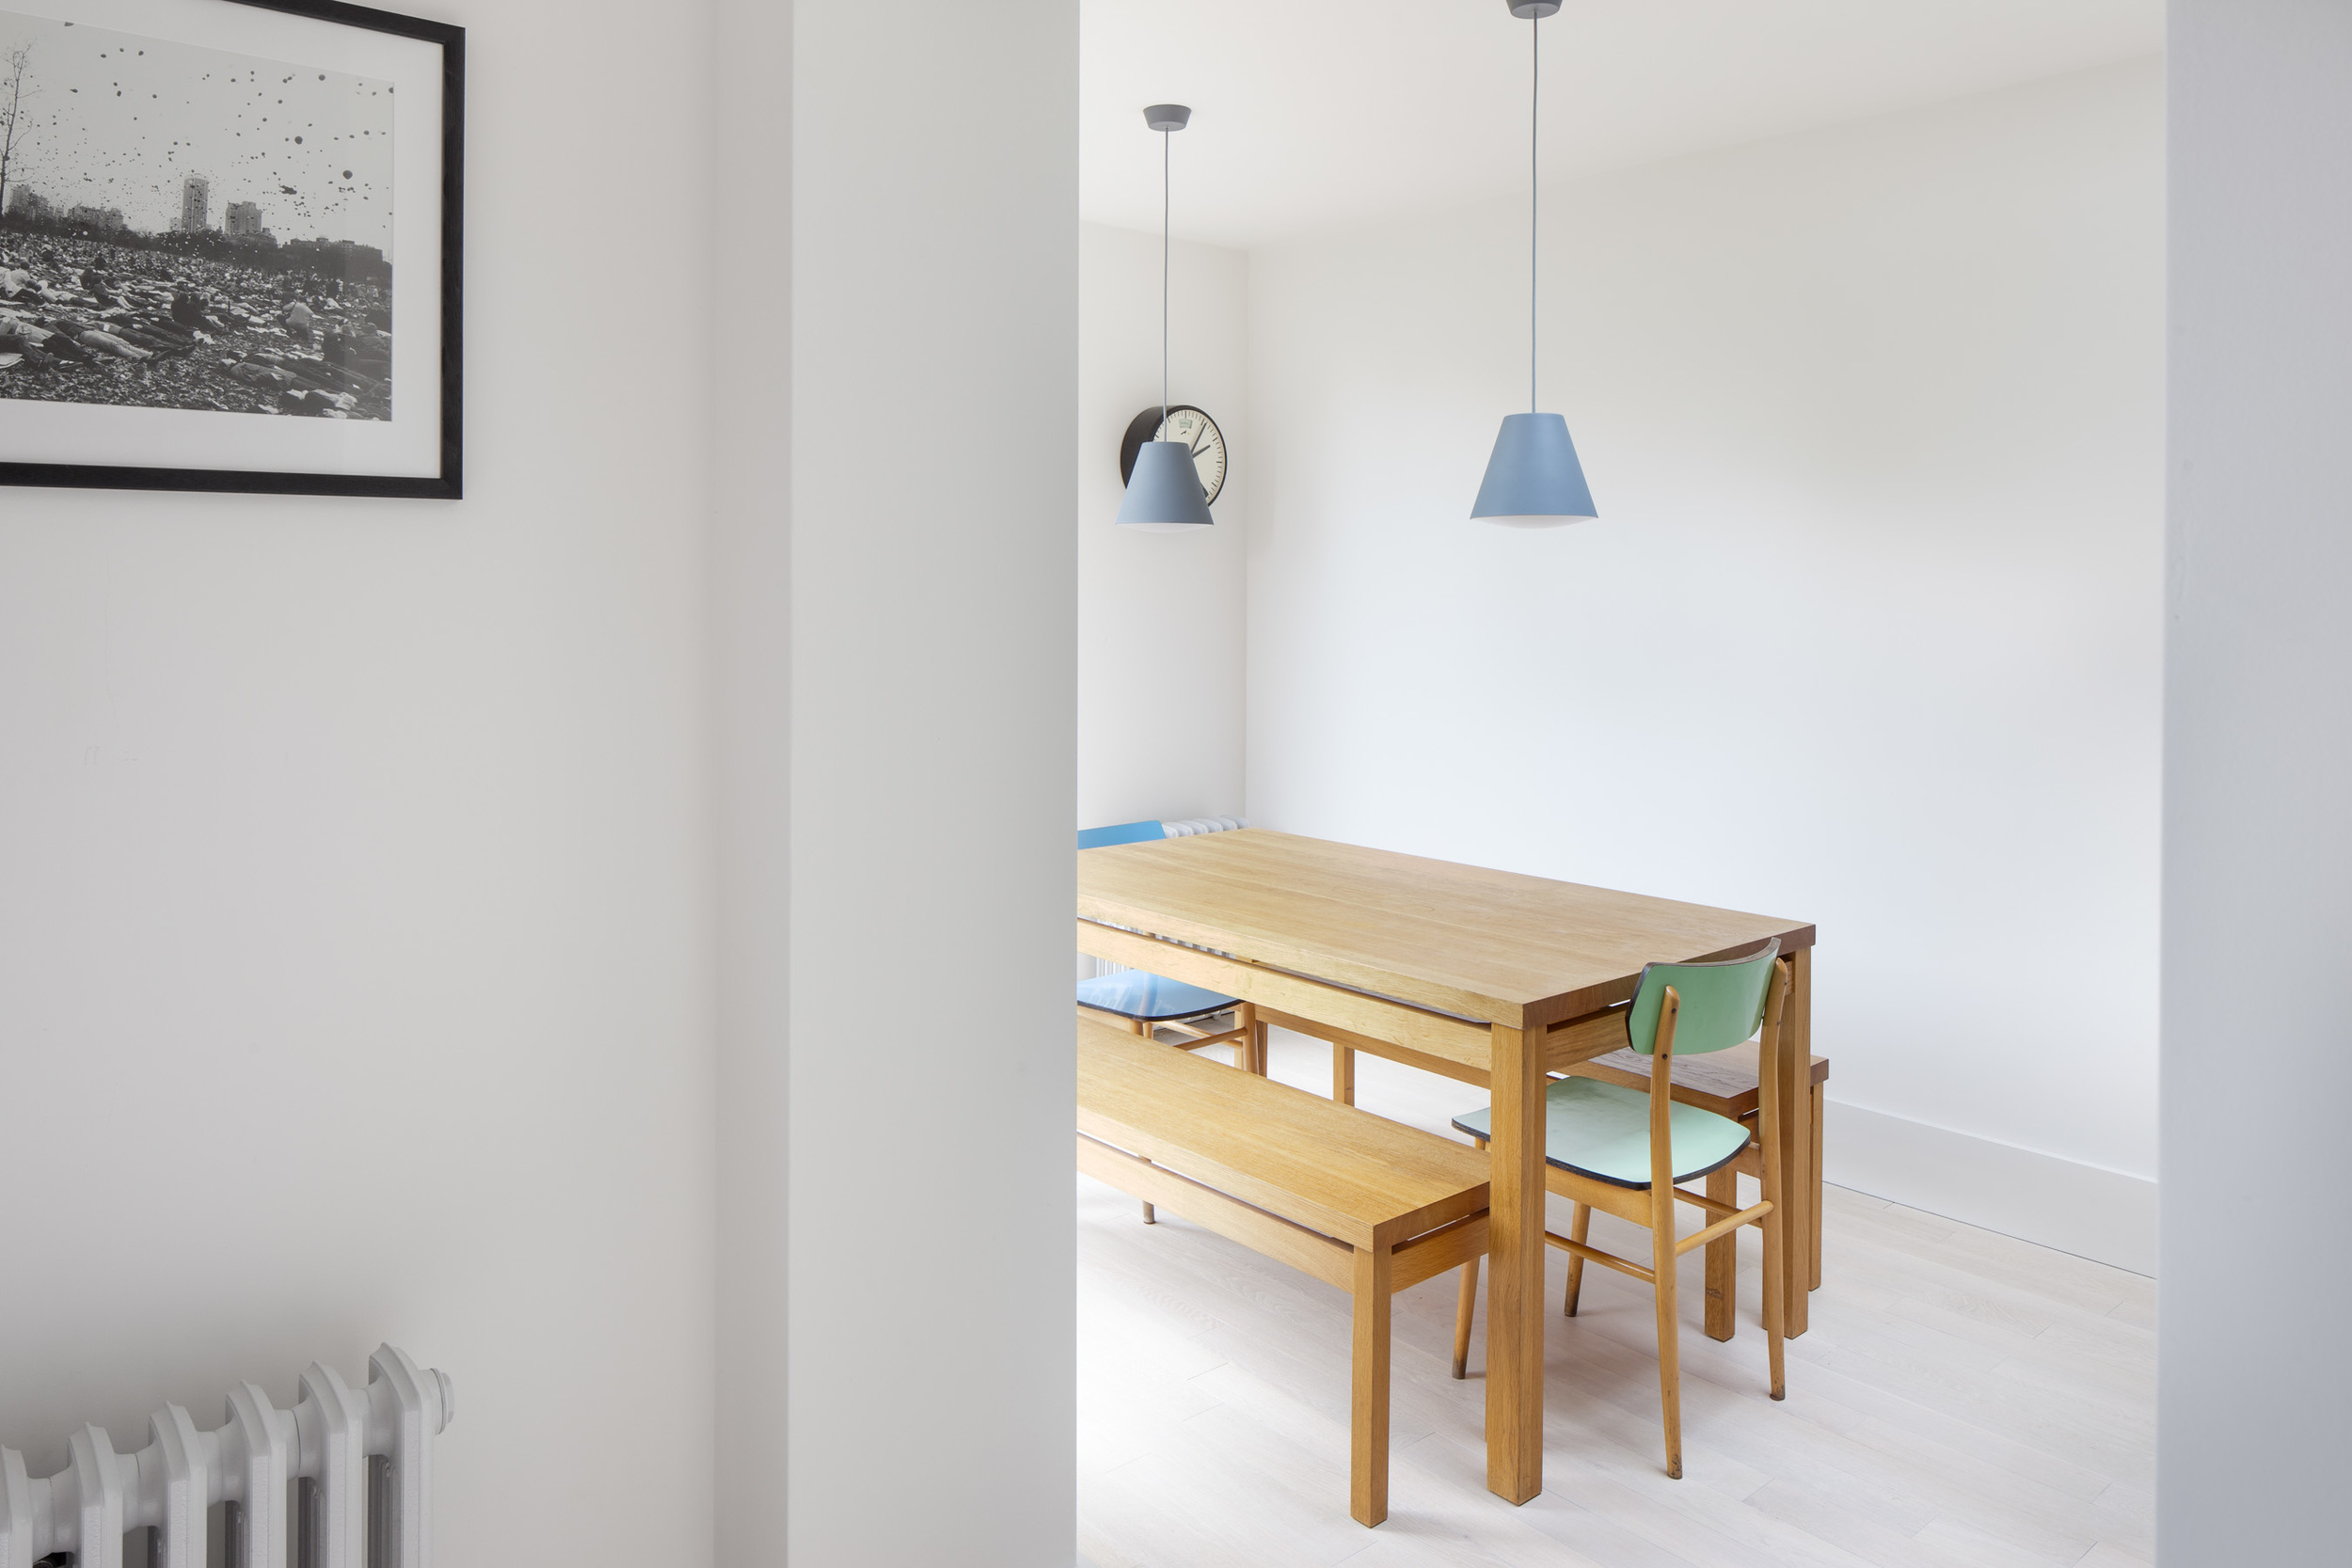
During July I photographed this delightfully simple home by deDraft Architects. Sat in a quite residential street in Crouch End I really enjoyed the sense of warmth while still keeping things crisp and clean. You can find out more on the architects website.
Aberystwyth Artists' Studios /

I got a phone call last week from an ex-colleague which sent me hunting back through my archives for this photo from my time at Heatherwick Studio. I still think it's a great little project.
Sybarite Architects /

A couple of weeks ago I did a portraiture shoot for Sybarite Architects of their new staff. I quite like this one.
Brasenose College /

My computer just told me that I took this photograph 6 years ago today. Nice
Snapshot /
We follow the journey of two couples as they get a snapshot that’ll last forever.
Last month I made my first ever film - Snapshot. I’ve been wanting to make a film for ages and the Virgin Media Shorts competition provided the perfect excuse. I started work on the film back in April with my brother Thom and friend Dominic Humphrey and after a month of bouncing around ideas Thom and his creative partner Danielle produced a script that made us all smile.
As well as being a small film, we only had a small budget as well so actors and actresses were auditioned with the promise that those picked would get some headshots in exchange for their time and help. With Chris, Becca, Richard and Stephanie all on board I was able to turn to my friend Jamie Hind at Cloud and Horse for some assistance building our photo booth. Finally, a few more friends were recruited to give a hand at the actual shoot.
Snapshot stared Stephanie Wilson, Richard Mason, Becca Laidler and Chris Luca
Music by Dan Neale
Sound recorded by Dominic Humphrey
Sound edited by Dominic Dew
Set Constructed by Jamie Hind
Location managed by Michael Eichler
Screenplay by Thom Whitaker and Danielle Noel
Produced by James Whitaker, Thom Whitaker, Daniell Noel and Dominic Humphrey
Directed by James Whitaker
Special thanks go to:
Metro for furnishing us with a paper stand and papers.
David and Wendy Hall for letting us take over their front garden for the shoot.
City of London for allowing us to film outside on the street.
London Underground.
David Eland for lending us a generator, and then when the generator didn’t work The Bishop’s Finger for providing us with a main’s socket.
Jungle Studios for their assistance with the sound.
All that’s left to do now is start on the next film…